
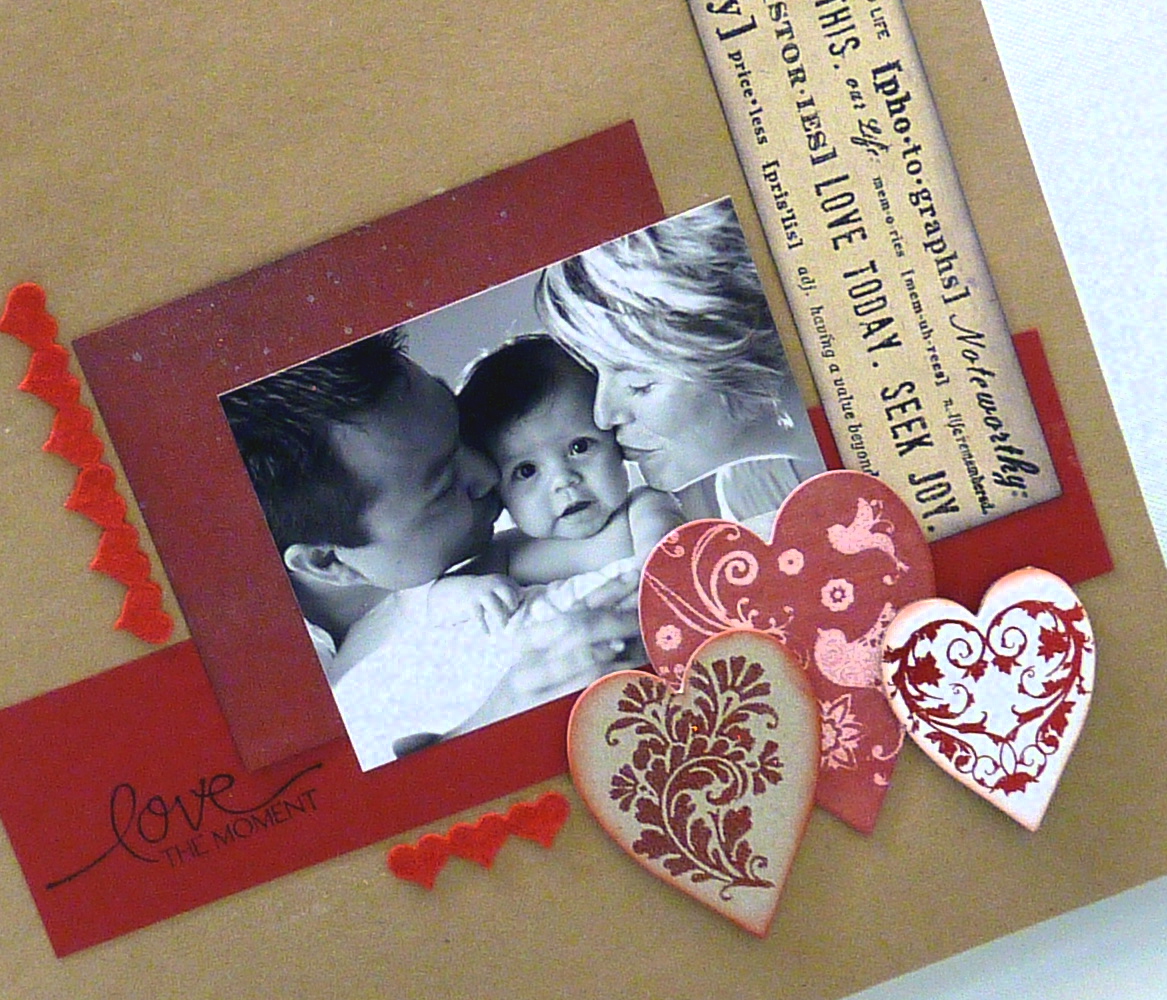
Journaling isn't really needed here - the great stamps from Hampton Art tell the entire story of the love shared by this beautiful family.
Here are the directions for this project:
Clearsnap Products
- Black ColorBox Classic Pigment Inkpad
- Warm Red ColorBox Fluid Chalk Inkpad
- Strawberry Stephanie Barnard Colorbox Premium Dye Inkppad
- French Swirl, Fly Away and Vintage Heart Design Adhesives
- Silver Foil Smooch Spritz
- Color Catcher Spritz Box
- Ruby Slippers Glitter
- Cherry Pie Designer Foils
- Jasmine and Black Donna Salazar Mix'd Media InX Embossing Powders
- ColorBox Stylus and 3 White Blending Tips
- Hampton Art - Text Borders Cling Set and Love the Moment
- Paper Accents Brown Bag Cardstock (12" x 12")
- Paper Accents Muslin Assorted Textured Cardstock (red)
- Memory Box Kraft Cardstock
- Red Felt
- Soft Round Paintbrush (for the glitter)
- basically BARE Bare Basics Hearts
- Detail Clear Embossing Powder
- Heat-Tool
- Memory Box Heart Chain Border Die
- Diecut Machine and Plates
- Scor-Tape
- Foam Dots
- Place a 4-1/2" x 5-1/2" piece of red cardstock in the Color Catcher and spritz it with Silver Foil Smooch Spritz
- Dry the ink, then ink the edges using the Stylus, Tip and Black
- Burnish Design Adhesives onto the basicaly BARE hearts - Fly Away (trimmed to fit the heart and fill in empty spots) on the large heart, French Swirl on the medium heart, Vintage Heart on the small heart
- Emboss the Fly Away pattern with Jasmine Embossing Powder then ink the background using the Stylus, Tip and Warm Red
- Buff any residual ink off the embossed image with a tissue
- Brush Ruby Slippers Glitter onto the French Swirl, then ink the heart's edges with Strawberry
- Burnish Cherry Pie Designer Foils onto the Vintage Heart pattern on the small heart (red-side-up), then carefully peel the liner away and ink the edges with Strawberry
- Stamp Love the Moment on the smooth side of a strip of red cardstock with Black and emboss it with detail clear powder, trim it to 10-5/8" x 2-1/2"
- Stamp the Text Border on Kraft Cardstock with Black, emboss it with detail clear powder, then ink the edges with Black
- Attach red felt to a strip of lightweight cardstock with Scor-Tape
- Diecut the Heart Chain Border, then cut it into sections of three and six hearts
- Attach a narrow strip of Scor-Tape to the hearts
- Assemble the layout, using a combination of Scor-Tape and foam dots to attach the chipboard hearts

http://davebrethauer.typepad.com/inkollage
Lovely page! The trio of hearts and the felt hearts add such a great touch to the photo.
ReplyDeleteGreat layout, sweet pic, love the use of the kraft, and the spritzed piece is a nice added touch.
ReplyDeletei love this! Such a great page!
ReplyDelete