I like to have a nice consolidated place to keep all the report cards, artwork, and miscellany from each school year, but of course, no ordinary binder will do!
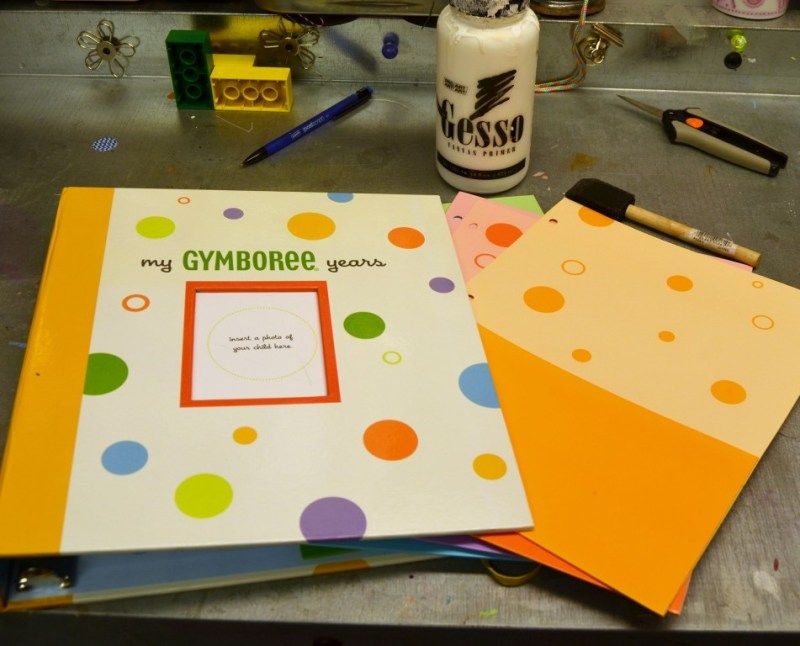
I started with this binder and inserts. I had never used it for it's intended purpose, and didn't want to throw it away. A plain binder would work just fine too, though.
First, I covered the binder in a couple layers of Gesso to cover up the design. White paint would work almost as well.
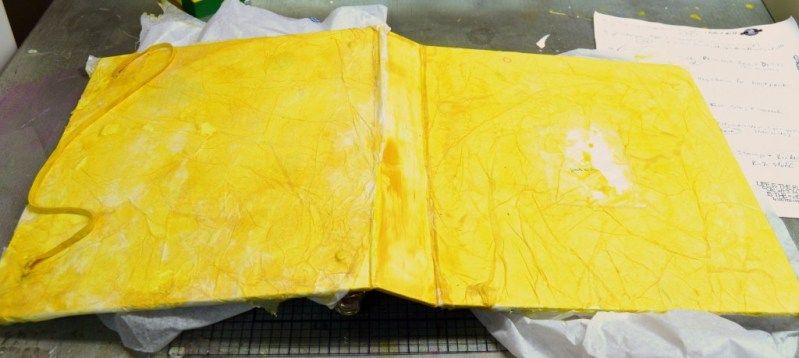
Next, I inked it with the Donna Salazar Mix'd media ink. It's not important that it be perfectly smooth coverage because we are going for a grunge look here. I didn't let it dry very long, so when I moved onto the next step, the ink kind of came up and mixed with the mod podge, but that might actually have worked out better!
I used a mod podge and water mix to adhere the tissue paper. Like I said, the ink sort of mixed in to make it yellow mod podge, but that worked pretty great to give the color I wanted. I used two sheets of tissue paper, and didn't worry about the spine because I knew I was going to cover that. I learned the hard way that MORE mod podge/water is better, don't be shy! Slap it on there and go because if you mess around with it too much it will tear the tissue paper - which is ok, you can put another layer on, but it's easier if you don't shred it all up.
I left the excess hanging off the edges and put it aside to dry overnight.
Next, I cut the excess tissue paper off with my craft knife and inked the edges with more mixd media ink. I also attempted to use a chicken wire plastic mask as a stamp, with some stephanie barnard dye ink in strawberry. It worked, but wasn't as visible as I would have liked due to the texture on the binder.
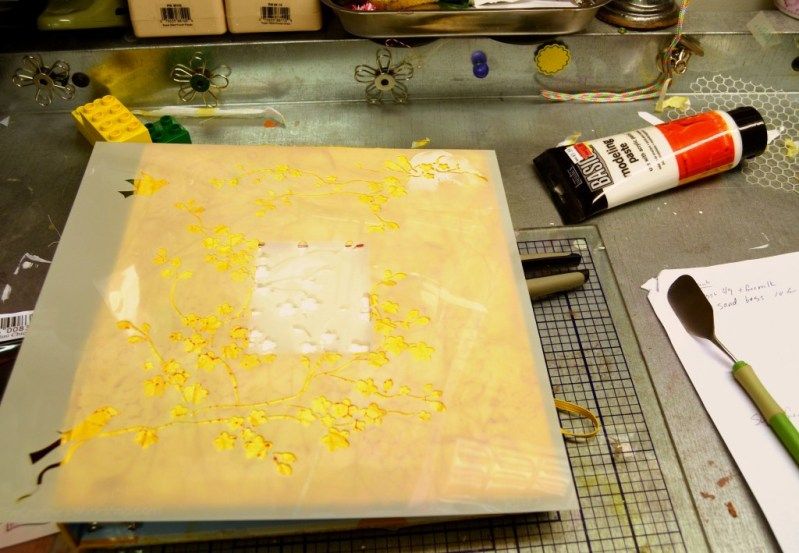
So, I moved onto the cherry blossom template and some modeling paste. I used my cricut spatula to apply the paste, just smearing it over the designs. Again, the texture underneath gave me some trouble. I learned to go fast and swipe the paste on in one swipe if at all possible. Pushing it around too much caused it to lose shape underneath the mask.
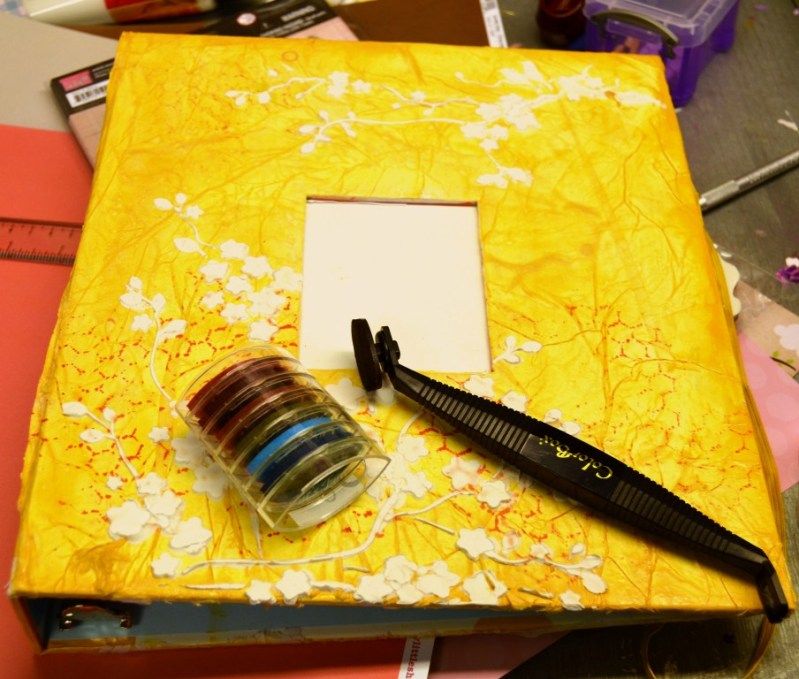
This is what it looked like when I finished. You can see where some of my flowers aren't perfect, but again I was going for a shabby look so that's ok. I let this dry overnight and then got out my blending stylus and cat's eye chalk ink queue to apply some ink to the design. I lightly sanded the design before applying the ink because there were some sharp edges.
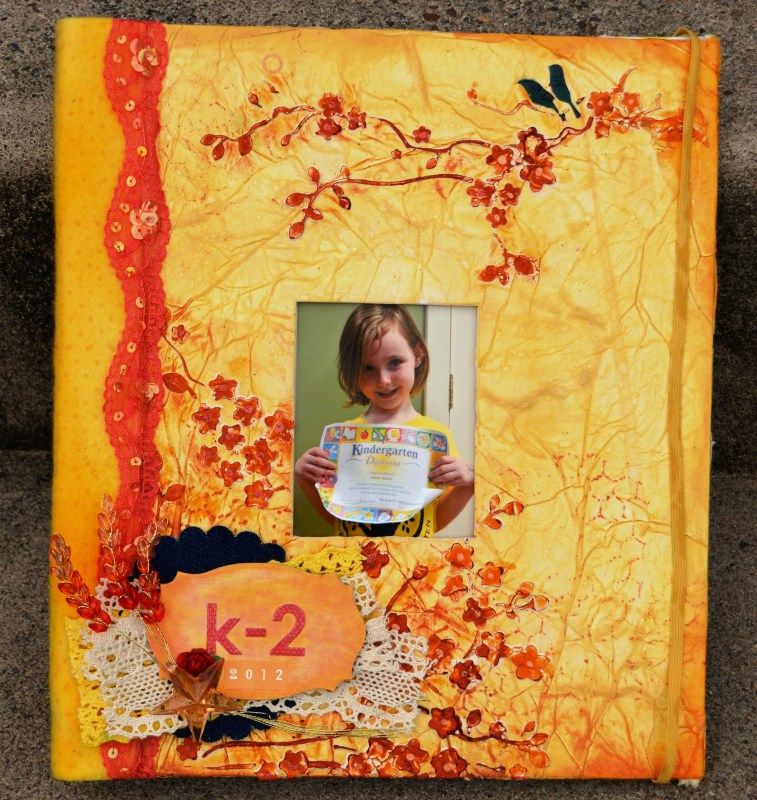
Here is the finished product:
I used a couple different colors of ink from that Queue, blending the lighter ones on the right, into the darker on the left of the branches. I added some dots of smooch accent ink in a similar fall color palette to the centers of the flowers.
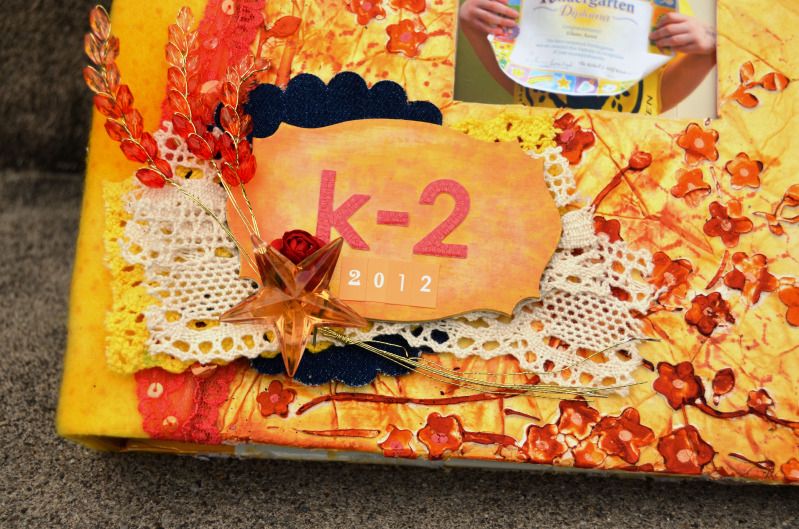
For the spine, I used a piece of fleece, but felt would work too. I used my Rollograph with the Dots stamp cartridge and Stephanie Barnard Dye ink in Pumpkin, to add some design to the fleece before adhering it to the spine with fabric glue. The ribbons, trims and bling are all Hydrangea Hippo. The denim and chipboard are Want2Scrap. I used my spellbinders die and big shot to cut the denim into the scalloped circle.
The chipboard I painted with Gesso then sprayed with dye ink in yellow and orange, then inked it with a little of that same Mix'd Media ink.
Here's a closeup
Clearsnap Supplies: Rollograph with Dotted stamp wheel
Stephanie Barnard Dye ink in Pumpkin
Colorbox Chalk ink Queue
Donna Salazar Mix'd Media Ink
Smooch Accent ink
Stephanie Barnard Spray Dye ink
Other Supplies: Want2Scrap chipboard and Denim
Hydrangea Hippo trims and bling
Gesso
Fleece
tissue paper
binder
Mod Podge


WOW! Great job and excellent tutorial. Are you going to make section inside and decorate the inside as well, or just store the paper in it?
ReplyDelete