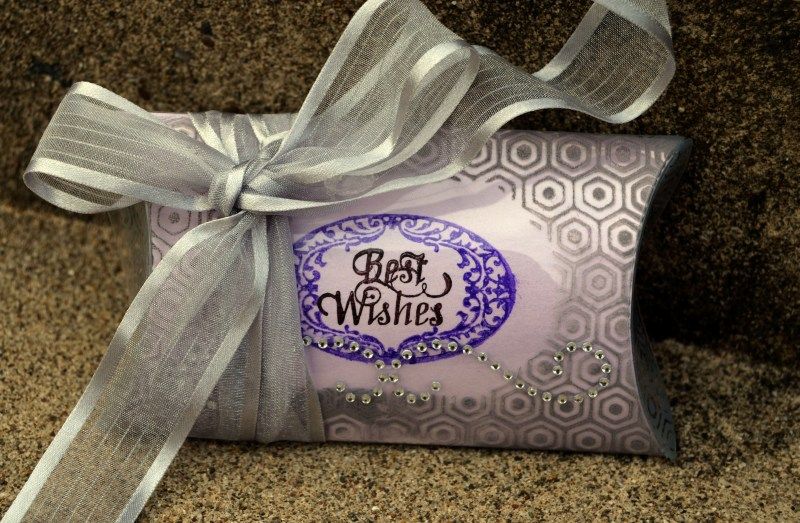
Hello! It's Megan here to show you a fun gift giving idea using the Colorbox Crafter's Ink and a Basic Necessities acrylic pillow box. Here is what I am going to be showing. Isn't that pretty?!
One of the great things about the Crafter's Ink is that it's permanent on many surfaces after being heat set.
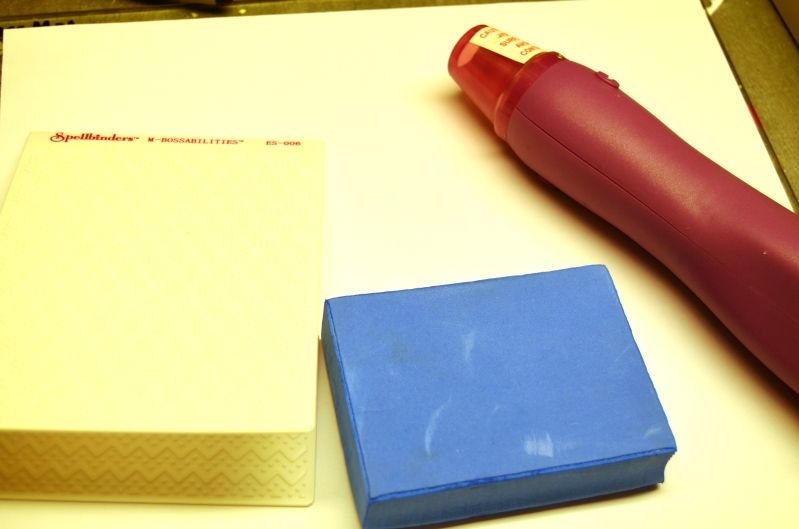
First, I want to show you how I created the stamp that I used for the hexagon design. I used the magic stamp moldable foam for the stamp and a spellbinders embossing folder for the impression.
First, I used my heat gun to heat the foam for about 30 seconds, moving the gun slowly over the surface of the foam. I probably hold my gun closer than you should, so it might take more than 30 seconds depending on how close you hold the gun to the foam. I hold mine about 4 inches away. After 30 seconds I immediately press the embossing folder onto the hot foam, firmly and hold it there for a few seconds. (I count to 10)
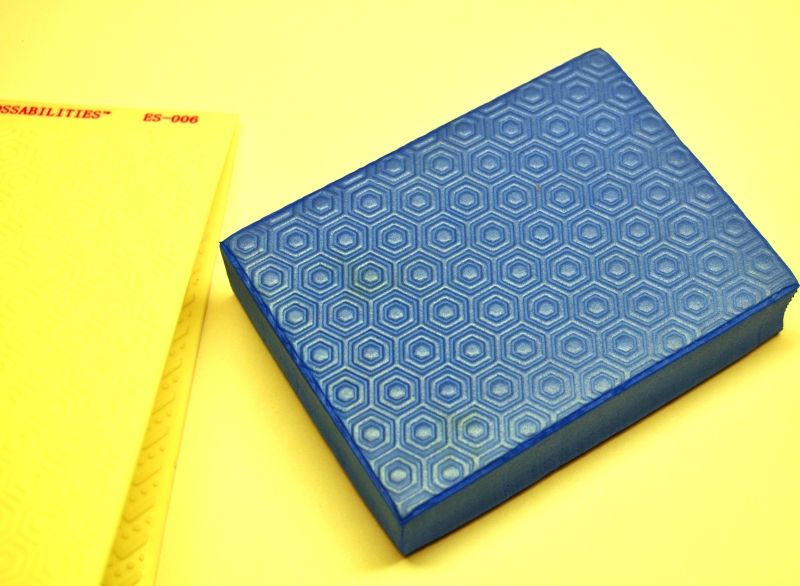
This is what the foam looked like when I took the embossing folder off.
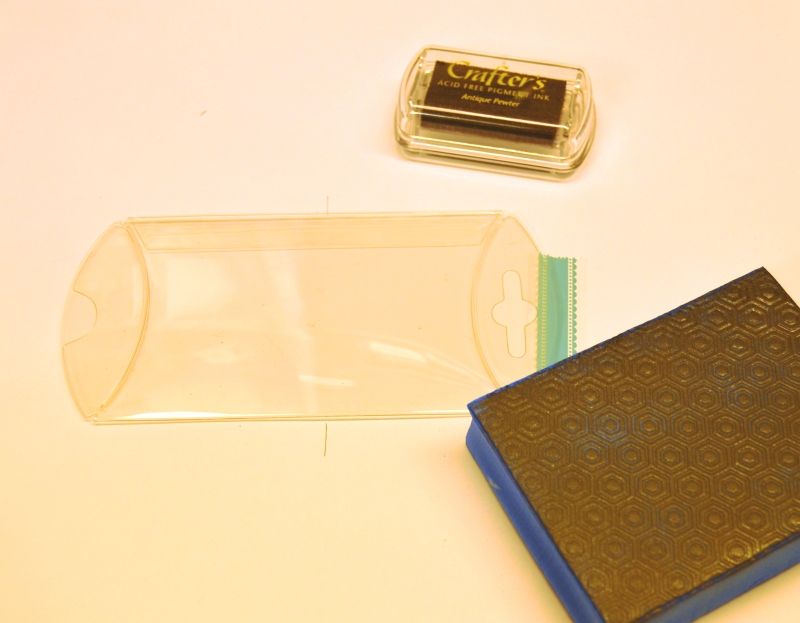
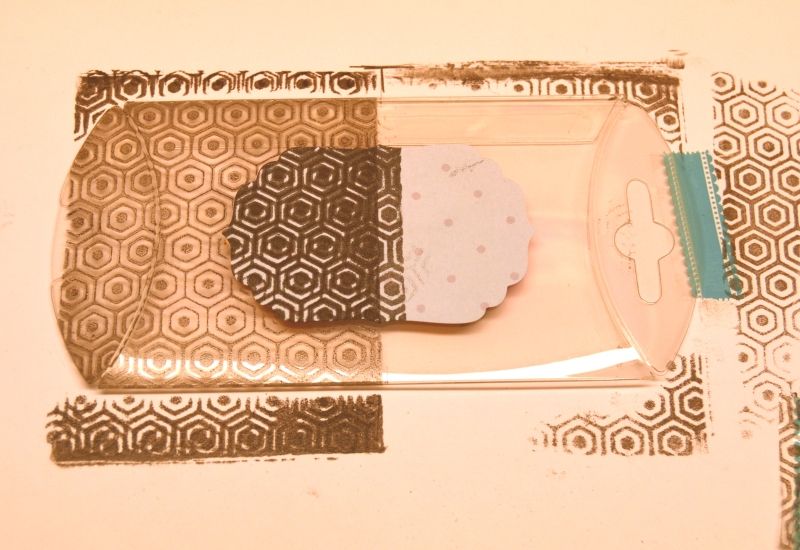
Next I got out my crafter's pigment ink and taped my plastic pillow box to my scrap paper. I inked up the stamp and drew some little guidelines on the paper so I could see where to put the stamp.
I used a die cut piece of scrap paper as a mask before stamping. After stamping the first side, ink the stamp up again, being careful not to touch the still wet ink from the first side and use the guidelines to match it up.
Then get the heat gun out and heat the whole thing up to set the ink. If you look closely while you are heating, you will see how the ink starts out wet and then dries as you heat it. The plastic box will become flexible and warp as you heat it. Let it cool off well before touching it.
Even after cooling, the plastic will look a little warped, but it's ok, when you fold it up it will look just fine. However, if you plan on stamping both the front and the back, I recommend doing the front first because after heating, the other side will not take the stamping as well, since it will have a little warp in it.
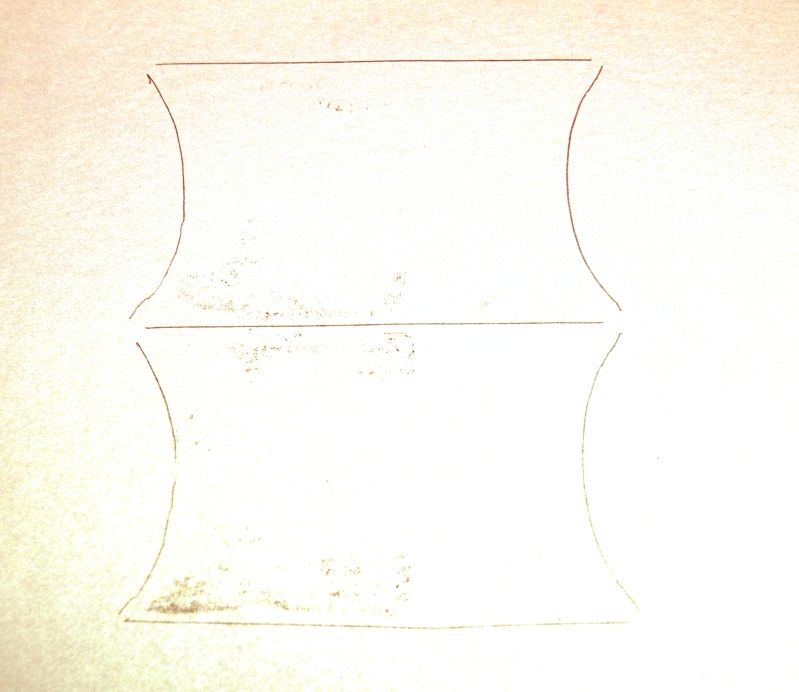
While the box was cooling, I used another one that I had ruined, to trace this template and create an insert. I have made inserts in the past by trimming a little off, then a little more, until it fit. You can try using my template here, but I don't know if it will print out at the correct size, and it still needs a little trimming.
I used silver paper for the insert and stamped the sentiment on the insert before sliding it in. I then added some bling and a nice big bow to the front!
Supplies:
Clearsnap Basic Necessities Pillow Box
Stephanie Barnard Dye ink in Navy
ColorBox Pigment ink in Black
Other: Want 2 Scrap bling
Hot off the press stamps
Spellbinders embossing folder and die
No comments:
Post a Comment